
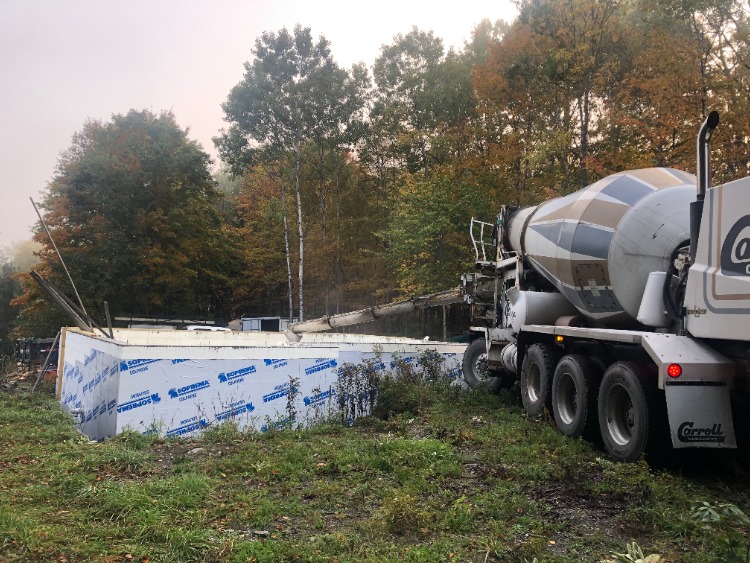
To tell the story of a simple basement I should backtrack to the beginning of our time here in Vermont.
We moved here in August 2018 with a few plans in place: A beautiful rental house, a school we adored, and the knowledge that some close friends from Oregon and Missouri lived nearby.
After many, many conversations, it was decided that we would buy land from one of these families – former neighbors and dear friends. We share a common vision of stewarding the land and already knew that we were ideally suited to live next door to one another.
And so began our second journey of building an off the grid homestead, from scratch, on raw land. (You can read all about the first experience here and in all of the posts between October 2012 and August 2018.)
I’ve written about the pros and cons of building from scratch, and I don’t necessarily recommend it as the path forward for everyone. But for us – with a carpenter husband and both of us being suited for creative pursuits – it made the most sense. And financially speaking, it was really the only option given the cost of real estate in our desired location.
So here we are, building a 3 bedroom, roughly 1,500 square foot home!
Building a Basement – Pros and Cons
To simplify matters quite a bit, the first big decision in the building process was to decide whether or not to build a basement under our future house. I know this seems like a small decision within such a large project, but it felt enormous at the time!!
I recorded a video about some of the pros and cons (find it here, and please know that I’m not a YouTuber, so my video quality is humble).
Ultimately, we decided the investment in a basement was worth it for a few reasons:
- A root cellar was top of my list of must-haves, and we already knew that the amount of ledge (rock) on our land would make building a free-standing root cellar (like the one we built in Missouri) expensive and challenging.
- A basement would make it easier for us to change our minds about house layout during the design/build process, as utilities could be easily routed through the basement.
- When you build a homestead from scratch, you’re almost always short on storage space. A basement would give us yet another protected space to store the many tools and supplies of our homesteading life.
The Basement Building Process
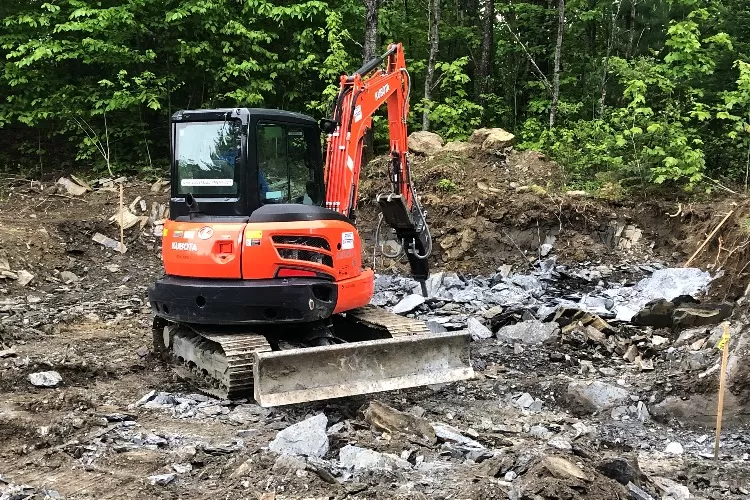
Step one was to excavate the rough footprint of the house, which is roughly 26 x 32 feet, exterior dimensions. The excavation process put us over budget for the basement because, as you can see from the photo below, we encountered LOTS of bedrock. We opted not to blast, so we ended up with a hole that was not quite as deep as we would have liked, but it was workable.
One of the ways we’re saving money is to do most of the work ourselves, so while I spent the summer growing food in the garden, Brian set and poured the footings and ordered the ICFs (insulated concrete forms) that would form our basement walls.
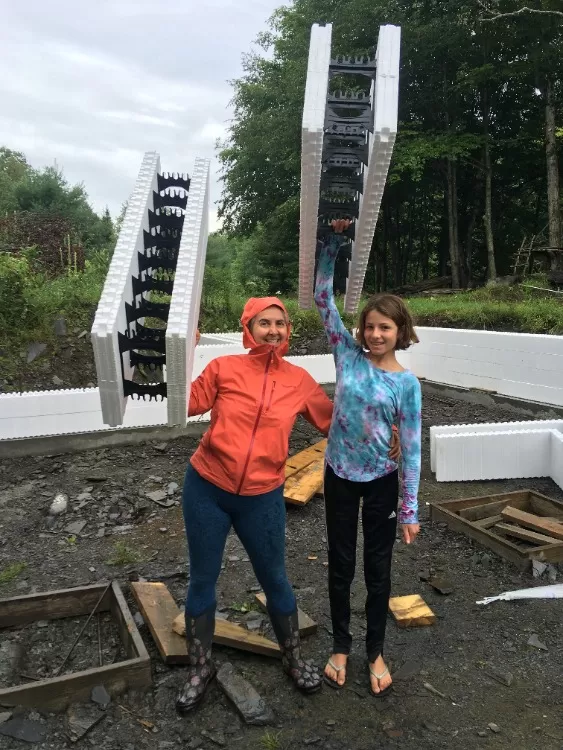
ICFs are a great option for building concrete foundations yourself, since you don’t need to buy or construct expensive forms for the walls, or insulate them after. With ICF’s, you stack them much like legos and the insulation is built into the form. Place rebar inside for structural support, fill with concrete, and you have a finished basement foundation.
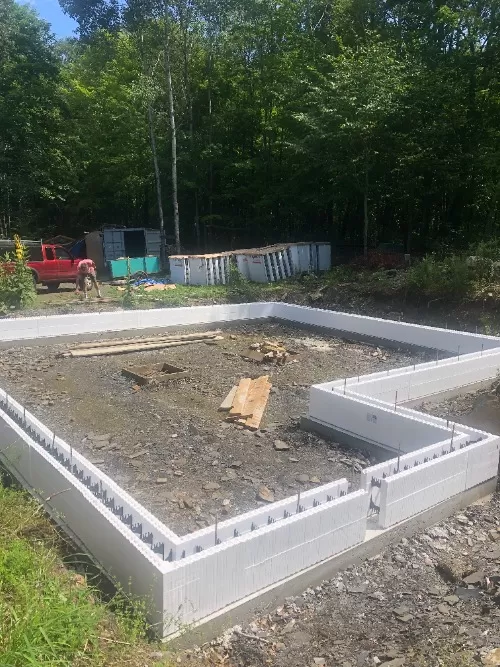
We ran five courses of ICFs, resulting in a 6.5 foot tall basement wall. Any taller, and we feared that our house would look disproportionately tall; any shorter, and we’d be hunching over in the basement. The kids and I were all able to help with the ICF process, which was fun, satisfying, and quick.
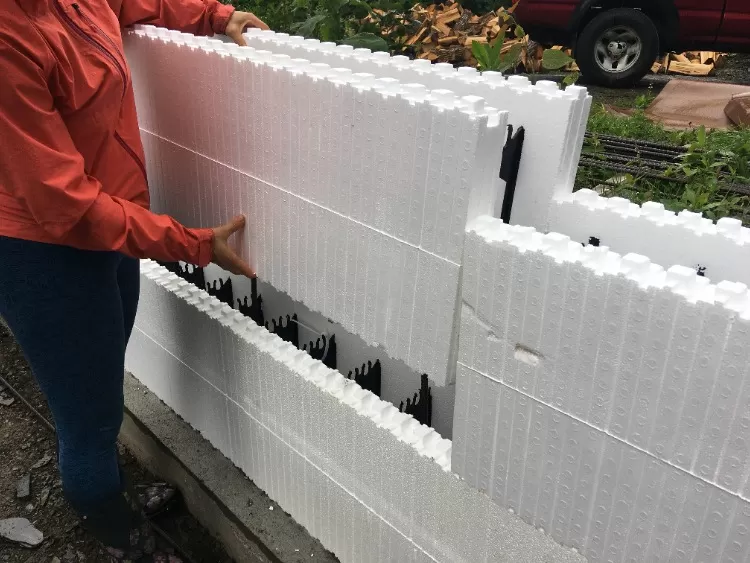
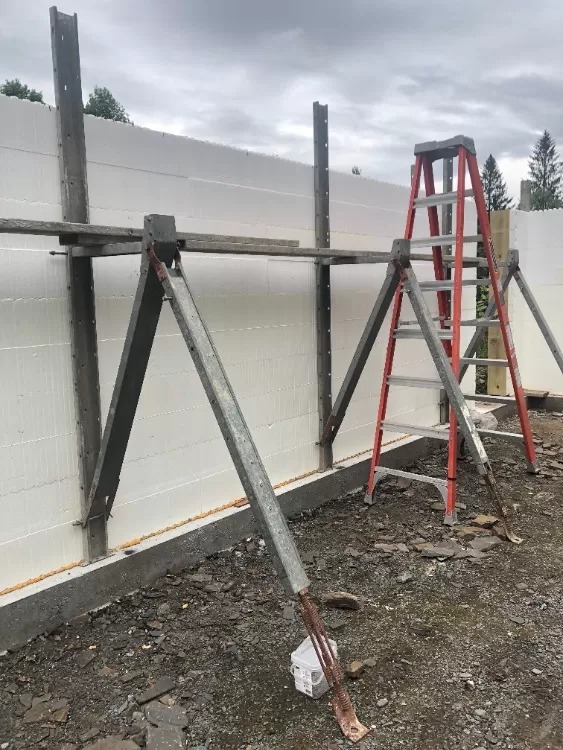
We purchased the ICFs through a local business, and they supplied the bracing materials (above photo) that kept everything in place when concrete was poured to form our basement walls.
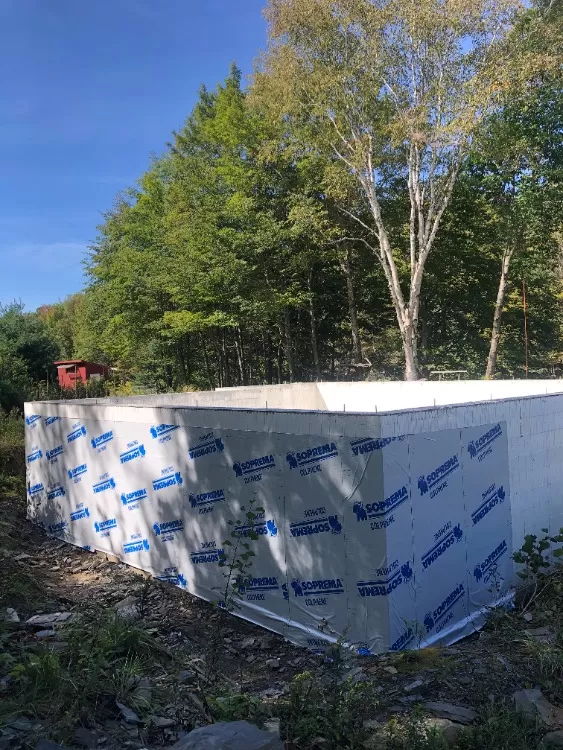
Once the walls were poured, the next step was to wrap the exterior with a water barrier meant for below-grade ICF walls. We also installed perforated pipe and gravel below the future slab as a passive radon mitigation system, then added a vapor barrier and sub-slab foam insulation.
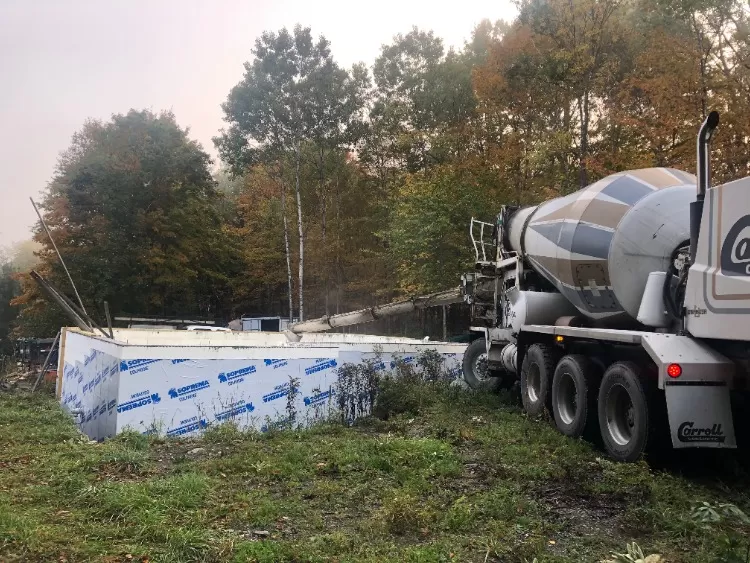
And finally, after many postponements due to rain, we hired out the pouring of our slab floor. This was one of the places where we technically could have done the work ourselves, but the results that a professional brought were well worth the expense.
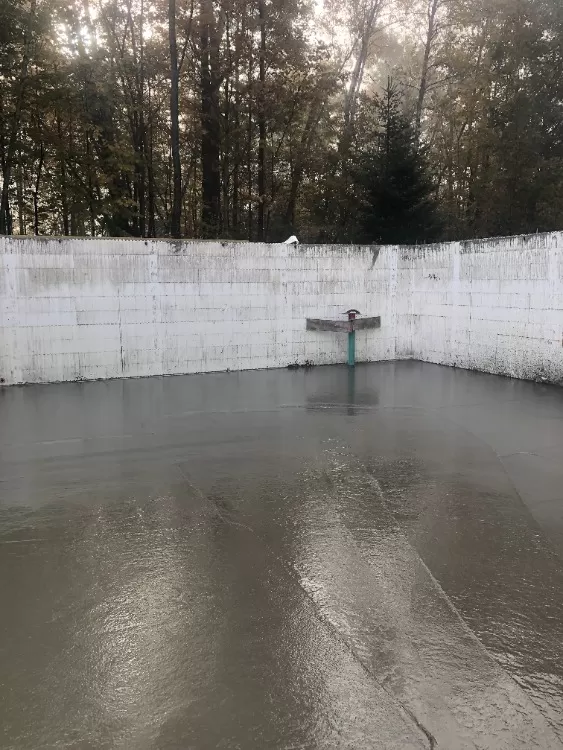
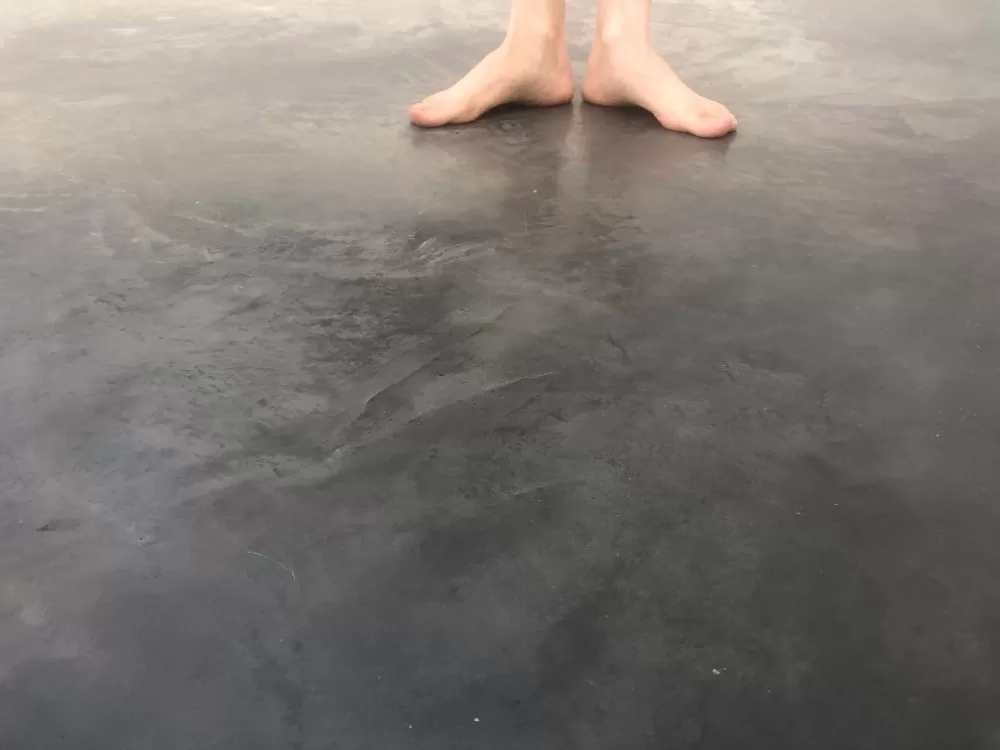
Although it’s just an enclosed slab of concrete, the basement now has a feel to it, like another space of our home. The kids bounce balls and play in there, I go into sing (great acoustics!) and dream of roller skating like I did in the basement where I grew up.
More homesteading inspiration!
…
homestead-honey.com
Feed Name : Homestead Honey
Hand Built Home
hashtags : #Building #Home #Basement


![How To Turn AI Visibility Data Into Action [Webinar]](https://areyoupop.com/wp-content/uploads/ai-cites-your-brand-now-what-webinar-500x383.jpg)





Leave A Comment